Create a dashboard
In this part of the workshop you will begin to create your Hard Hat Detection application.
Dashboard Layouts
The Dashboard uses a grid based layout. Widgets, such as buttons or text boxes, are given a size in grid-cells. They are packed into a group that has a defined width. The Groups are then placed on a Tab - laid out using a flow-based layout, filling the width of the page before wrapping. This arrangement provides some flexibility in how the page displays on different screen sizes.
Dashboard Sidebar
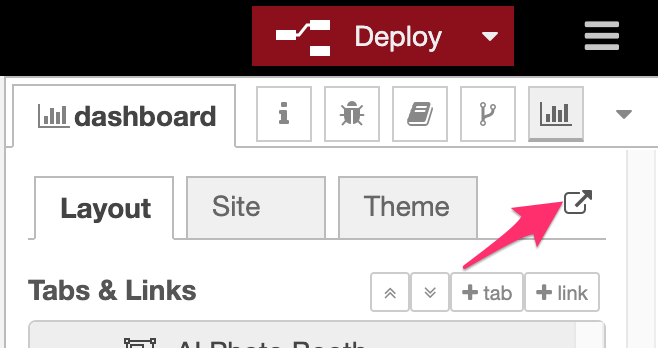
Within the editor, the Dashboard module provides a sidebar where you can customize its features as well as manage its tabs, groups and widgets.
- Open the Dashboard sidebar
- Click the
+ tabbutton to create a new tab. -
Hover over the newly added tab and click the
editbutton.
-
In the edit dialog, give the tab a name of
AI Photo Boothand click Update to close the dialog. - Hover over the tab again and click the
+ groupbutton. -
Edit the new group and set its properties:

- Set the name to 'WebCam'
- Set the width to
10by clicking the button and dragging the box out to 10 units wide. - Untick the 'Display group name' option

This has created the initial layout components needed for the dashboard. You can now start to add content.
To access the Dashboard, click the button in the top-right corner of the Dashboard sidebar. This will open the Dashboard in a new browser tab.
Next Steps
The next task is to add some different controls to the dashboard.